Vented Garage Floor Tiles: The Cheapest Upgrade That Changes Everything
Most people start a garage makeover with the walls, the storage, or the lighting. That's the wrong order. The floor is the single biggest surface in your garage, and it's the one you look at, walk on, and drop things onto every single day. Get the floor right and the rest of the space instantly looks more finished. Leave it as bare concrete and it doesn't matter what you bolt to the walls — it still feels like a building site.
Interlocking garage floor tiles are the fastest, cheapest, and least disruptive way to completely transform a garage floor. No mixing chemicals, no curing time, no hiring someone. You click them together like a jigsaw on a Saturday morning and you're done by lunch.

What are vented garage floor tiles?
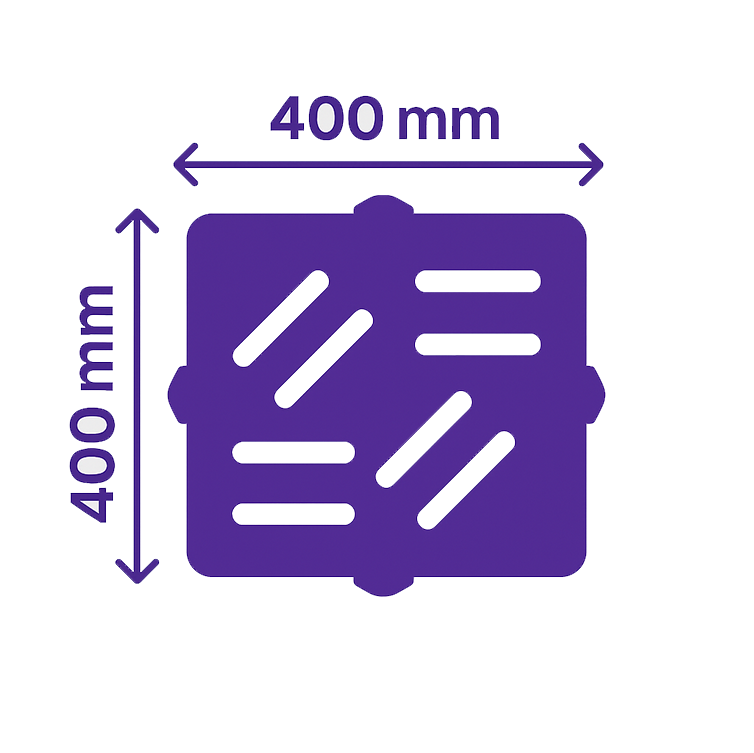
Vented floor tiles are interlocking polypropylene tiles with an open-grid surface pattern that lets air, water, and debris pass straight through. They sit on a raised base — typically 15–18mm off the concrete — which creates a gap underneath for airflow and drainage. Liquid doesn't pool on the surface; it falls through the vents, spreads across the concrete below, and evaporates naturally.
That's the key difference between vented tiles and solid interlocking tiles. Solid tiles look clean and feel smooth underfoot, but they trap moisture between the tile and the concrete. In a UK garage — where you're driving in with a wet car on a rainy Tuesday in November — that trapped moisture turns into damp, mould, and eventually that musty smell that never quite goes away. Vented tiles stop that from happening because nothing sits still underneath them.


Why they work so well in UK garages
This is the bit most flooring guides written for the American market miss entirely. UK garages are wet. Not occasionally damp — properly wet. You drive in with road spray all over the underside of the car, rain dripping off the sills, mud on the tyres. That water has to go somewhere.
On bare concrete, it puddles. On epoxy, it puddles and makes the surface dangerously slippery. On solid tiles, it seeps into the seams and sits underneath. On vented tiles, it drains straight through, air circulates beneath the surface, and it dries. That's not a marginal difference — it's the reason vented interlocking tiles are the default flooring choice for professional detailing bays, car washes, and workshop floors across the UK.
If your garage doubles as a home gym, the same logic applies. Sweat, spilled water bottles, and damp trainers all get dealt with instead of sitting on the surface making it slippery.
Garage floor tiles vs epoxy: a fair comparison
Epoxy coatings look fantastic on day one. Glossy, seamless, showroom-clean. The problem is everything that comes after day one.
Epoxy requires serious preparation — the concrete has to be perfectly clean, dry, and often acid-etched or mechanically ground before application. Then you apply the coating, wait 3–7 days for it to cure (during which your garage is completely unusable), and hope you got the mix ratio and temperature right. If the concrete underneath has any moisture issues — and most older UK garage floors do — the epoxy will eventually bubble, peel, or delaminate. Repairs mean stripping the lot and starting again.
Interlocking garage floor tiles skip all of that. No surface prep beyond a sweep. No adhesive. No curing time. Click them together, use your garage the same day. If a tile gets damaged, you pop it out and replace that one tile in two minutes. If you move house, you take the floor with you. Try that with epoxy.
The only real advantage epoxy has is that perfectly smooth, sealed look — and if that's what you're after for a showroom or display garage, fair enough. For a working garage, workshop, or detailing bay where the floor actually gets used, tiles are the more practical choice by a wide margin.
What to look for when buying
Not all interlocking floor tiles are built the same. Here's what actually matters:
Material. Polypropylene is what you want for a garage. It's chemical-resistant (oil, antifreeze, brake fluid, cleaning solvents — none of it stains or degrades it), UV-stable so it won't fade or yellow, and it handles the weight of vehicles without cracking or compressing. Cheap PVC tiles can stain from hot tyres and warp in direct sunlight — worth knowing before you buy the budget option.
Load rating. If you're parking a car on it, you need tiles rated for vehicle traffic. Our tiles handle loads up to 36 tonnes — that's not a car, that's a truck. Most garages will never come close to testing that, which is exactly the point. You want headroom, not a floor that's just barely coping.
Interlock quality. This is the difference between a floor that stays tight and a floor that creeps apart after six months. A good interlock should click together firmly and hold under lateral force — the kind of sideways pressure that happens when you push a heavy toolbox across the floor or turn a steering wheel while the car is stationary. Cheap tiles with weak interlocks gradually separate, leaving gaps that catch shoes and wheels.
Slip resistance. Vented tiles have an inherent advantage here because the grid pattern gives grip even when wet. But the surface texture still matters — a smooth-topped vented tile can still get slippery with oily residue, while a textured or ribbed surface stays grippy.
Installation: genuinely easy
This isn't marketing exaggeration — interlocking tile installation is as simple as flooring gets. Here's the actual process:
1. Measure your garage. Length times width gives you the square footage. Add 5–10% for cuts and waste around the edges. Each tile is 400mm × 400mm, so you can work out exactly how many you need.
2. Sweep the concrete. It doesn't need to be spotless — the tiles sit above the surface, so minor cracks, stains, and imperfections don't matter. Just clear any large debris or loose concrete.
3. Start from one corner. Work outward, clicking tiles together row by row. Most tiles only go together one way, so you can't really get it wrong.
4. Cut edge tiles to fit. A jigsaw or even a sharp utility knife handles this. Measure each edge piece individually rather than assuming the walls are straight — they almost never are in a UK garage.
5. Add edge ramps if you're driving over them. Most tile systems include ramped edge pieces that give a smooth transition from the garage floor to the drive or threshold. Without them you've got a lip that scrapes the underside of low cars.
A single-car garage takes 2–3 hours. A double garage, maybe half a day. No adhesive, no tools beyond a tape measure and something to cut with, no drying time. You're done when the last tile clicks in.
Colour and layout
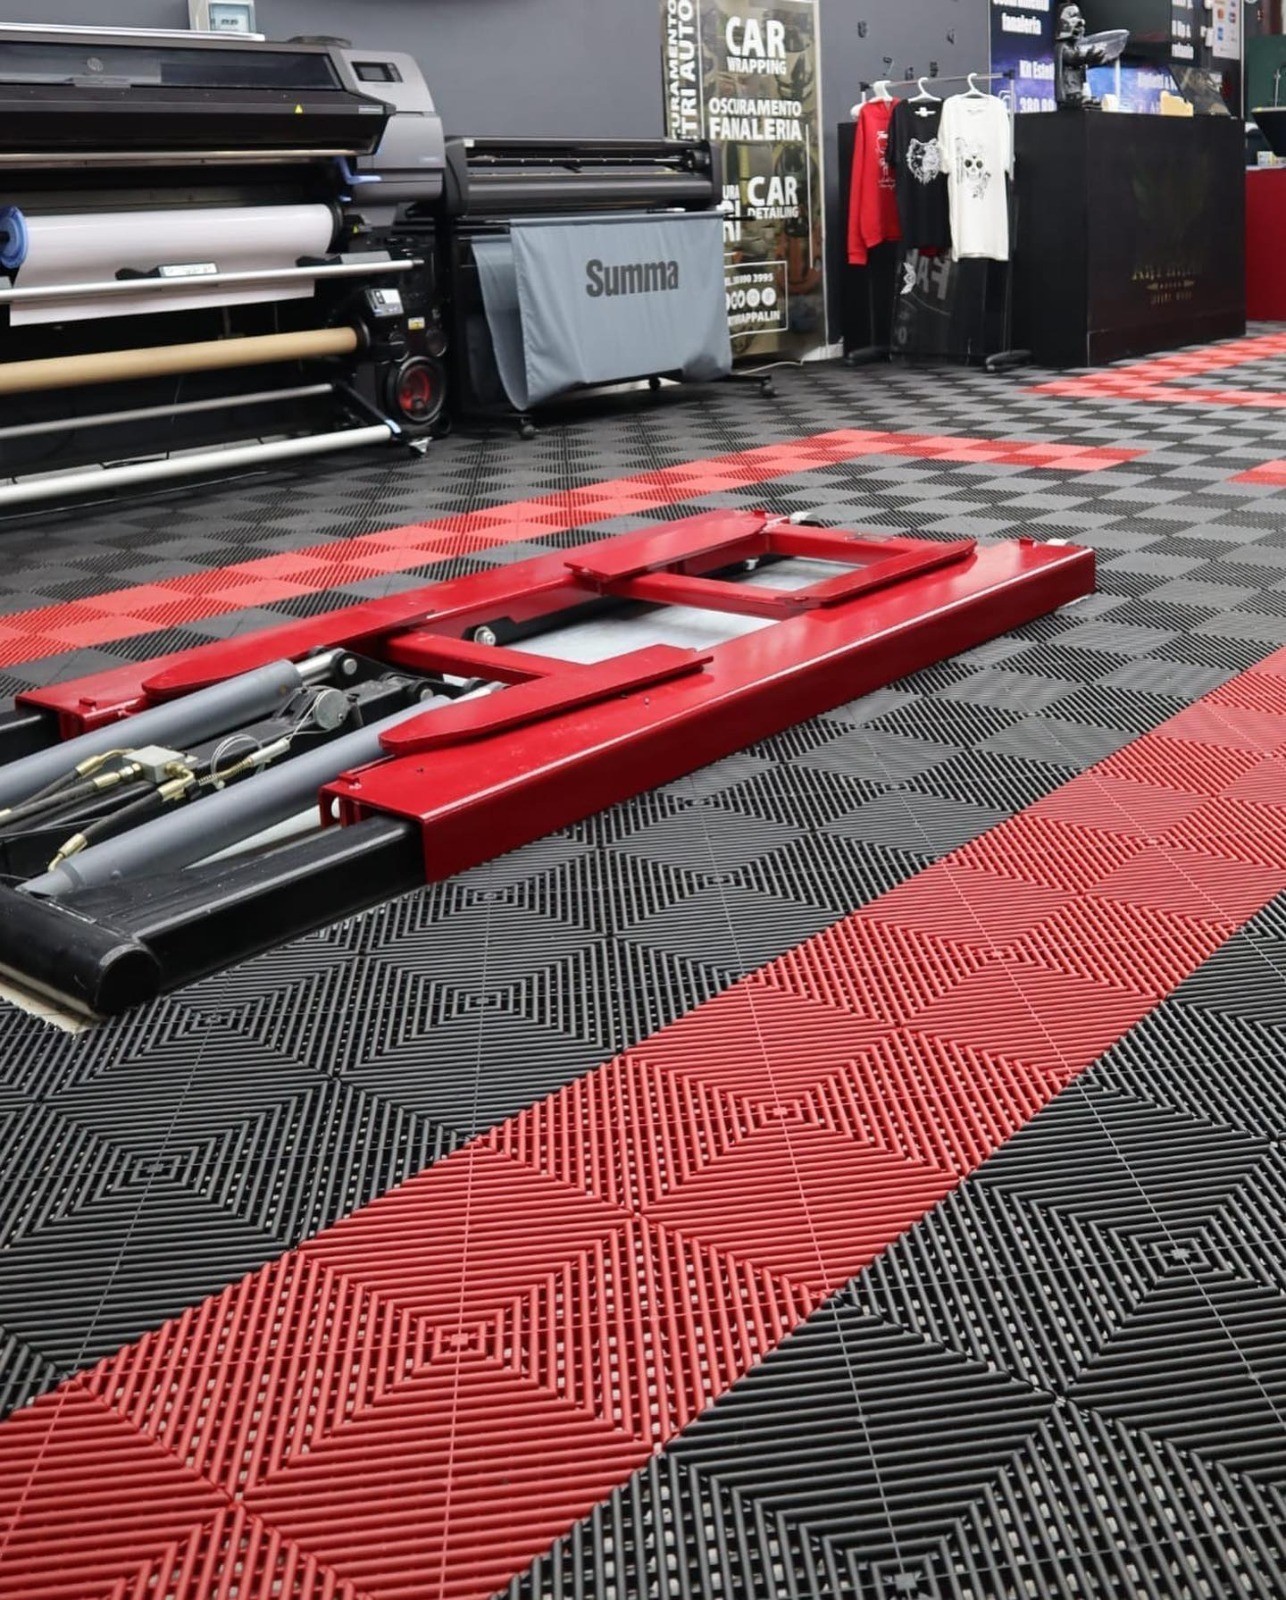
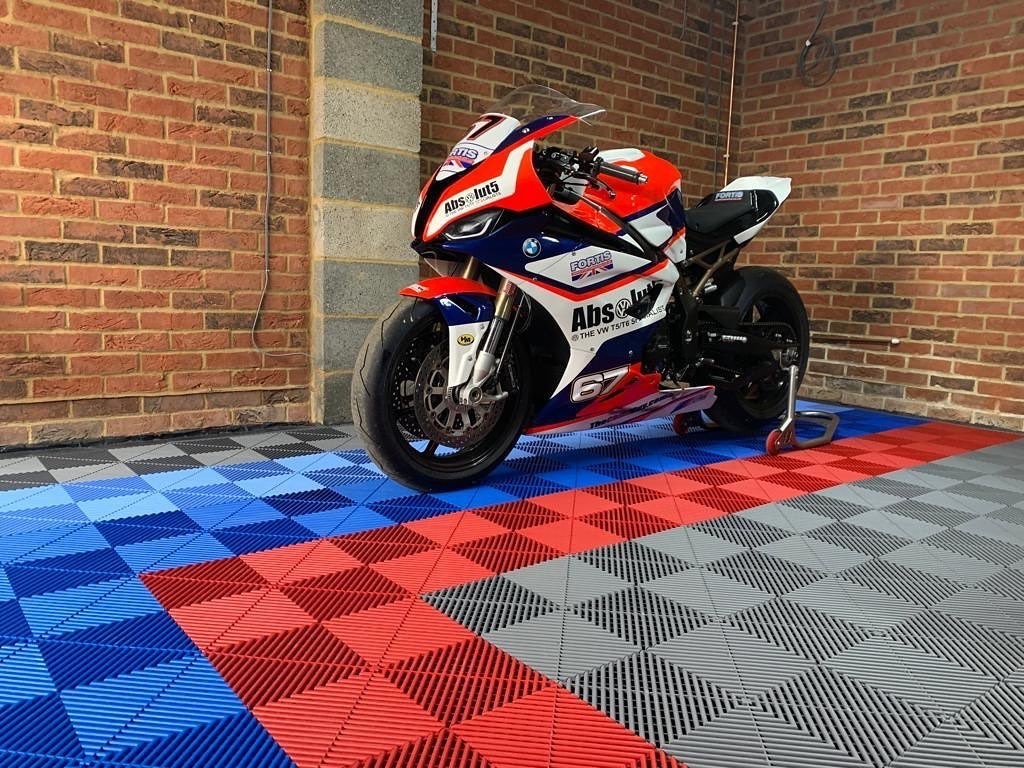
This is where the fun bit comes in. Unlike epoxy (one colour, one finish, committed forever), interlocking tiles come in multiple colours and you can mix them however you like. Chequerboard patterns are the classic — alternating black and grey is probably the most popular combination in UK garages — but you can use accent colours for borders, racing stripes down the centre, or different zones for parking versus workspace.
Our vented flooring tiles come in six colours — Black, Grey, Blue, Green, Red, and Yellow — so you've got enough range to do something interesting without it looking like a soft play area. Most people go with a neutral base (black or grey) and use a contrasting colour for borders or to mark out specific areas.
The full garage build: floor, ceiling, walls
If you're planning a proper garage transformation rather than just one upgrade, the order matters. Floor first, ceiling second, walls last. The floor is the foundation everything else sits on, and it's much easier to install tiles before the garage is full of shelving and cabinets.
For the ceiling, hex LED lighting is the obvious pairing. Bright, even, shadow-free light makes the floor look better and the whole space feel finished. If you're detailing cars or doing any kind of paint work, you need that 5000K–6500K daylight colour temperature to see what you're doing — and it shows off a clean tiled floor far better than a single fluorescent tube ever could.
For the walls, that's where your vehicle wrap vinyl comes in if you're feeling creative — but a clean coat of paint on the walls combined with proper flooring and lighting is already a completely different space to what most people's garages look like.
Who actually buys vented garage floor tiles?
More people than you'd expect. The obvious ones are car enthusiasts, detailers, and anyone with a home workshop who wants a floor that doesn't look like a council car park. But we also see tiles going into home gyms (drainage, comfort, grip), utility rooms, garden rooms, commercial workshops, and even van and trailer loadbays where a non-slip surface with good drainage matters.
The common thread is always the same: someone has a concrete floor that looks terrible and they want it fixed without spending a fortune or losing their space for a week. Interlocking tiles solve that problem better than anything else on the market.
Ready to start? Browse our full vented flooring range — available in six colours with individual tiles and full-garage packs. Got questions about how many tiles you need or which colour combination works best? Get in touch — we're available 24/7.